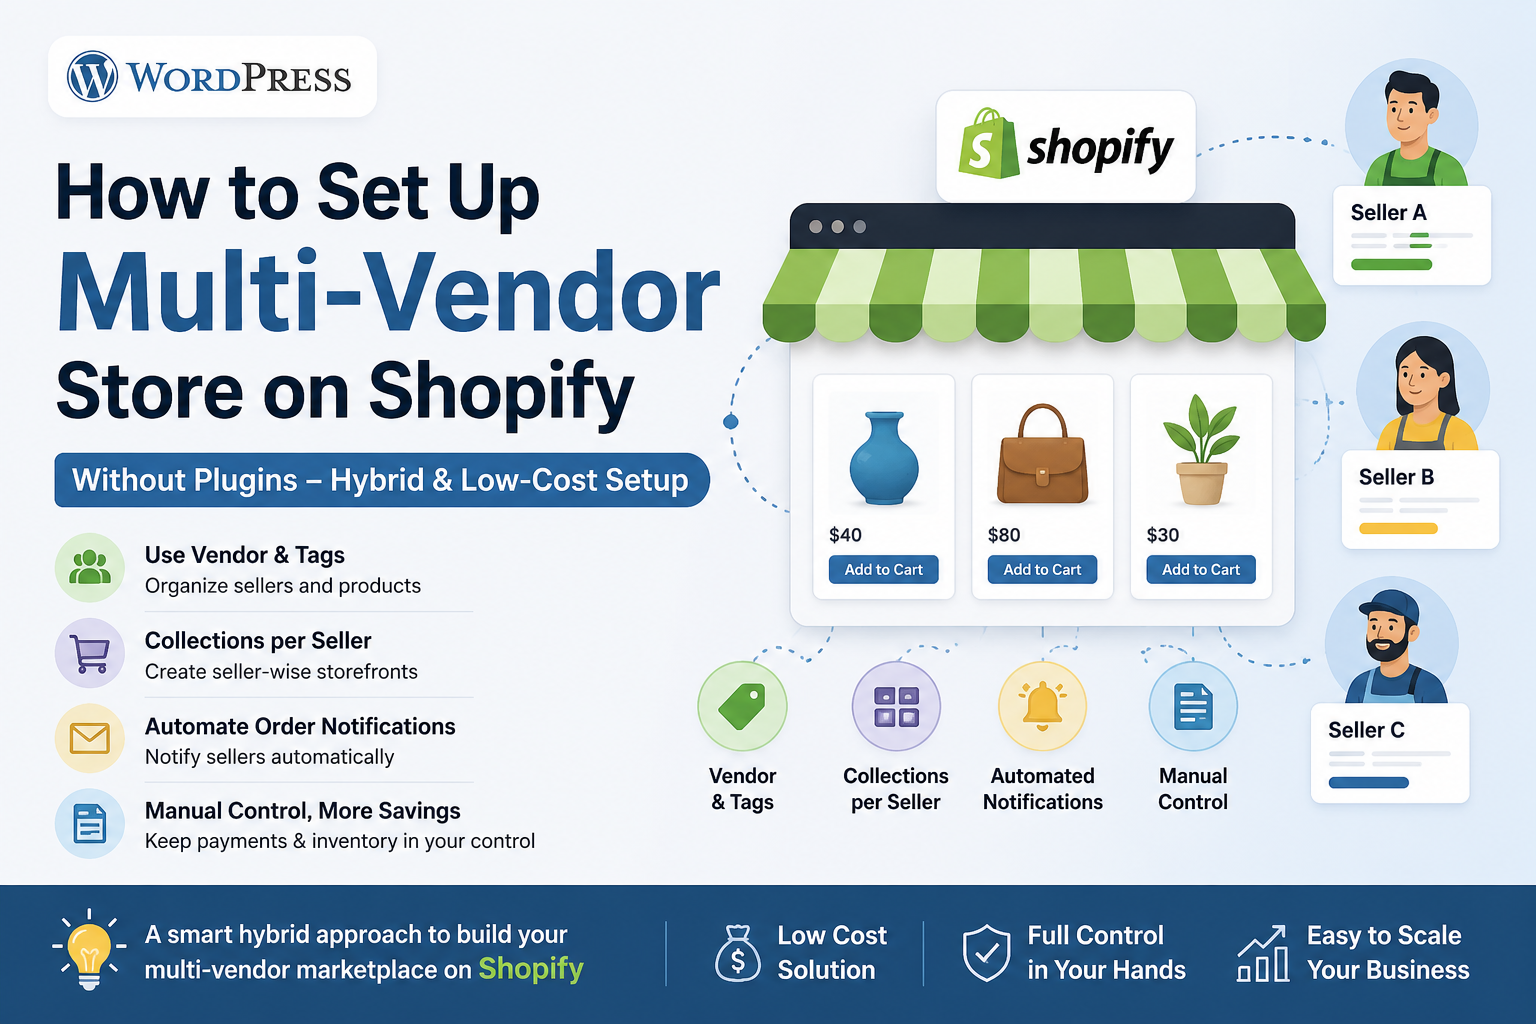
Running a true multi-vendor marketplace on Shopify without apps is possible only in a limited/manual way. Shopify is designed as a single-vendor platform, so you’ll need workarounds using built-in features like products, tags, locations, and custom fields.
Here’s a practical way to do it
1. Create “Vendors” using Shopify’s built-in field
Every product in Shopify has a Vendor field.
What to do:
- Add each seller as a Vendor name
- Example:
- Seller A →
Vendor: RahulStore - Seller B →
Vendor: DelhiCrafts
- Seller A →
- Example:
Result:
- You can filter products by vendor in admin
- You can build collections like:
- “Products by RahulStore”
2. Use Tags to Organize Sellers
Tags give you more flexibility than vendor field.
Example:
- Seller A products →
seller_rahul - Seller B products →
seller_delhi
Use cases:
- Create automated collections:
- Condition → Tag = seller_rahul
- Filter products on frontend
3. Create Separate Collections for Each Seller
Steps:
- Go to Collections → Create Collection
- Set condition:
- Vendor = RahulStore OR Tag = seller_rahul
Result:
- Each seller gets their own storefront page:
/collections/rahulstore/collections/delhicrafts
4. Show Seller Name on Product Page (Important)
You need to modify your theme.
In product template (product.liquid or main-product.liquid):
<p>Sold by: {{ product.vendor }}</p>
👉 This helps customers distinguish sellers clearly
5. Order Management (Manual Split)
Shopify will NOT split orders per seller automatically.
Workaround:
- When an order comes in:
- Check product vendor
- Manually inform each seller
- Share their items
Better workaround:
- Export order CSV and filter by vendor
6. Payments to Sellers (Manual)
Shopify pays you only, not sellers.
You must:
- Track each seller’s sales
- Deduct commission
- Pay via:
- UPI / Bank transfer
7. Use Locations (Advanced Trick)
If sellers ship themselves:
Setup:
- Add each seller as a Location
- Assign inventory per location
Benefit:
- Helps track stock per seller
⚠️ Limitation:
- Still no automatic order routing per seller
🧾 8. Add Seller Info using Metafields (Pro Setup)
You can create custom fields like:
- Seller name
- Seller phone/email
- Seller description
Then show it on product page using Liquid.
🚫 Limitations (Important)
Without apps, you CANNOT:
- Give seller login dashboards
- Auto split orders per vendor
- Auto commission calculation
- Auto vendor payouts
- Vendor-specific shipping rules
Reality Check
What you’re building is a “multi-seller catalog”, NOT a full marketplace like Amazon.
If You Want Real Marketplace Features
You’ll eventually need apps like:
- Multi Vendor Marketplace apps
- Or move to platforms like:
- WooCommerce + Dokan
- Custom marketplace
Best Simple Structure (Recommended)
- Use Vendor field + Tags
- Create Collections per seller
- Show seller name on product page
- Handle orders & payouts manually
Leave a Reply